These pages are provided to my students and close clay friends. Please do NOT put these links out on social media! While I realize that this is still a public page, it’s really for our use only. THANKS


 NOTE: This entire project can be found on sculpey.com – this page is just to show you the basics of creating the bracelet.
I use the Sculpey bracelet blank to create these bracelets. Any metal blank can be used AS LONG AS YOU CAN TRIM ALL THE CLAY OFF THE INSIDE OF THE BLANK. The base thick sheets (wide open) and the top layer is a #4 (thin) layer.
The Bracelet Base: Place the bracelet blank on the edge of the scrap clay (rolled out on widest setting) and trim to the edge of the bracelet. Roll the blank and wrap the clay around the blank. Trim the opposite edge.
Slide your blade along the edge of the blank to trim the clay on both sides. The entire OUTSIDE of the bracelet blank should be covered with NO clay on the inside.
Cut a strip from the remaining scrap clay that is about 1/2 inch wide and lay it down the middle of the blank as shown. You will need to stretch this piece a tiny bit to fit.
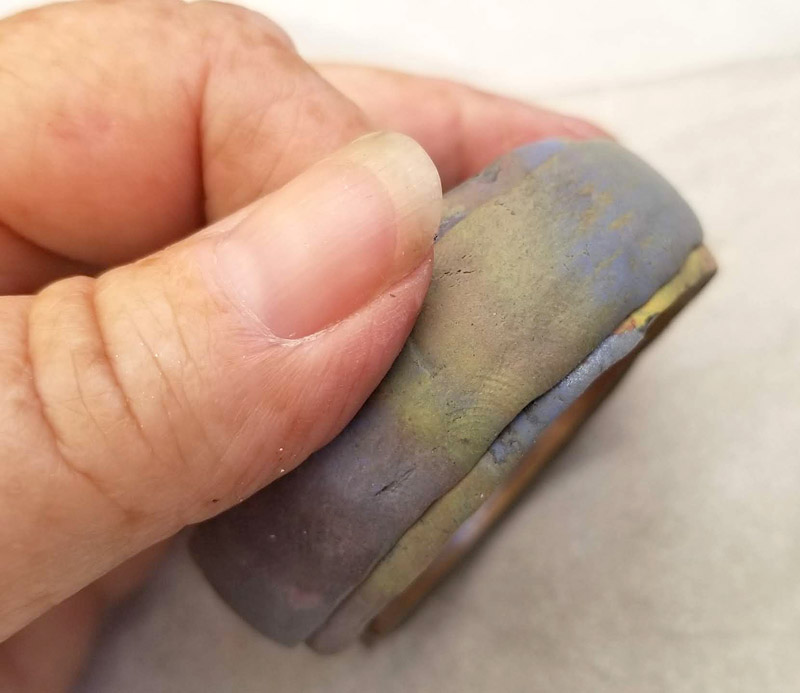
Use both thumbs to gently press the edges down and create a dome shape. These edges do NOT have to be even!
Wrap your finished layer (#4 remember?) around the bracelet, tucking the edges to the center.
Use your Exacto to cut on the inside of the blank by cutting to the metal and then sliding along the inside of the blank. This layer will now cover the other layers.
Gently pull the ends down and either tear them off or trim with your blade.
There you go! There is no clay on the inside of the blank and the dome is gorgeous!
Yeah, you can add another layer as well. I like this bracelet to be wide so that the wood grain pattern shows, so I added the scrap layer above and THEN this finished layer. You don’t need the two layers unless you want a wider bracelet. The layer used in the steps above could be your final pretty layer.
Bake that beast!
Once the clay has baked and cooled, just pop the clay off the blank. I like to cover the inside of the bracelet for a smoother look and more comfortable fit. So I take the scraps from the top layer and roll them out on a #5 layer (pretty thin!)

Then I put a little Bake n’ Bond (or Clear LS) to the inside of the bracelet and wrap the thin sheet on the inside of the bracelet. CAREFULLY use your Exacto blade to trace along the outside edge of the bracelet to trim this layer.
 Rub the edge of the layer up against the baked clay to roll off the excess clay and smooth the edges together and bake again (YES 30 minutes again!)
